This week, I’ve started to see the more monotonous side of building airplanes. Every day of this build has been a new “episode” and slightly different, though now with enough parts together to begin cleco’ing together major components, we’re getting into the steps which involve a lot of the same operation over and over again.
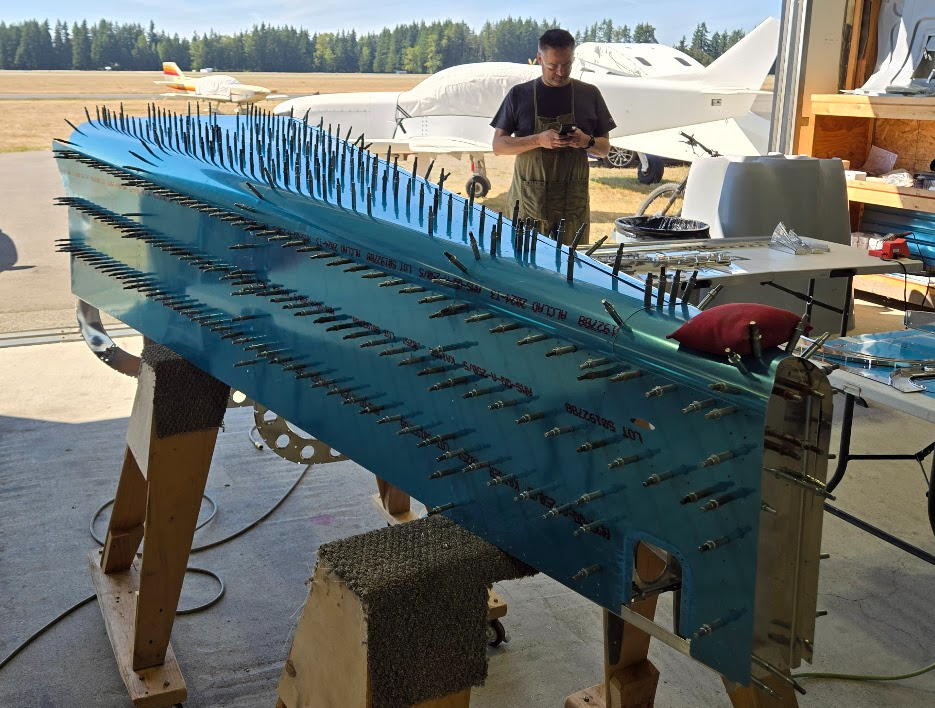
Hstab
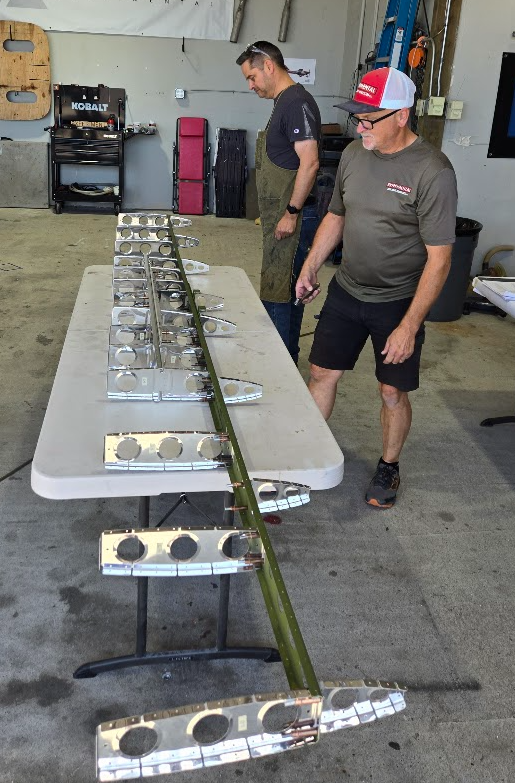
Ephraim Cleco’s together the Hstab and set me to work pass drilling the skin/rib flange stackup. This took forever to pass drill all of the holes without clecos, and the clecos were moved over to repeat the same slog all over again.
I’ve worked on production style manual tasks before, and I know the importance of working in patterns. Without a good pattern, you could easily end up accidentally repeating work or leaving holes undrilled here especially, since the final size is so close to the predrilled size.
(As Ephraim instructed me to do) I marked each uncleco’d hole with line in sharpie, and then began drilling. First, around the perimeter, then again with the clecos swapped. Then lines of holes across (swap cleco, repeat), then lines of holes going down (swap clecos repeat). I think Ephraim may have actually had a slightly different pattern that he recommended, but anyway this one ended up working.
I think any good production pattern should have some feature which identifies completeness. For this pattern, for all lines of holes, all holes marked with sharpie should be loaded with a cleco if the line is complete.
Elevator
The elevator ribs are composed of two sheet metal parts which come joined together as one. Ephraim had already marked these for cutting, so the work remaining for me was to perform the cut and debur. This was another task which took a lot of time. Ephraim has emphasized the importance of deburring, so I try to be as thorough as possible.
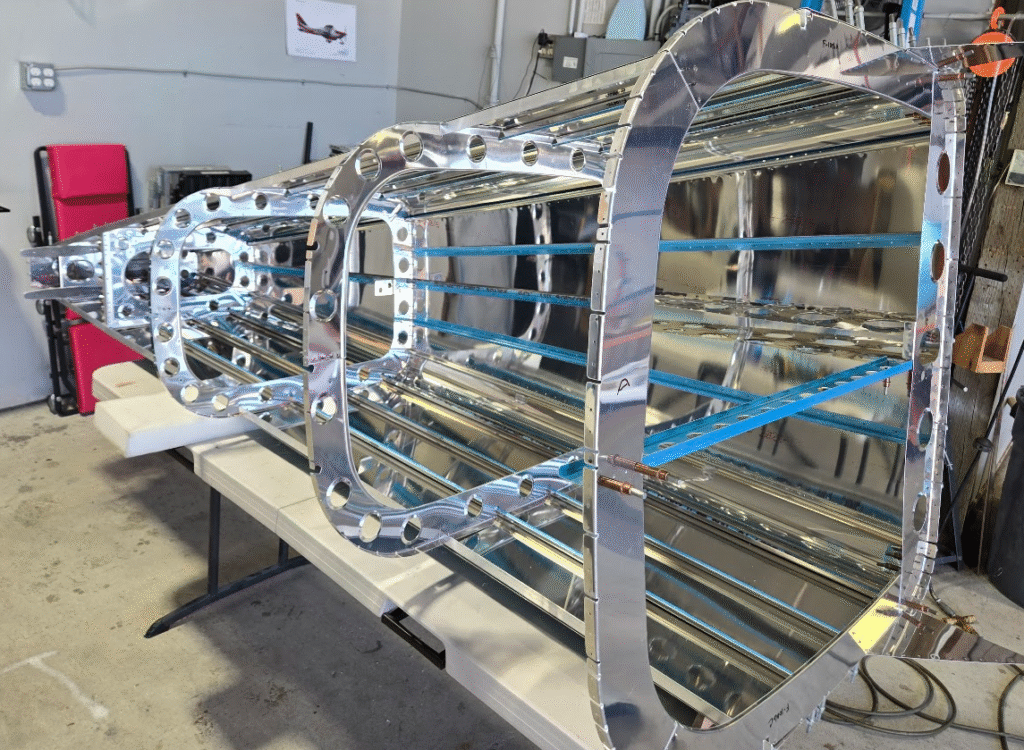
Tail Cone
Imagine my surprise when I left for the day without a tailcone on the bench, and recieved this text from Ephraim that evening:
The next day, Ephraim and I worked together to begin match drilling the stringers. “I promise I won’t drill a hole in your fingers”, Ephraim said, while I applied pressure to the stringers to line up the center mark with the skin holes as he drilled from the skin side. We got a handful of holes shot, and then moved the tailcone to a set of castering carpeted sawhorses.
Ephraim instructed me on how to do the midspan match drilling by myself, using a rectangular piece of wood to pressure the stringer against the skin and then cut me loose solo. This was definitely one of the more nerve wracking parts of the build so far, but there is no gain without some pain. The first handful of holes took a long time. Shooting these solo, you’re awkwardly positioned and the stringer will want to move as the drilling starts,. It takes a lot to commit to starting to drill. Of course, I was also worried about drilling a hole in my fingers.
Another calibrated eyeball point: It was difficult for me to know how far off from center of the skin hole the stringer line could be before there was an issue. It turns out, it doesn’t need to be exactly perfect, although all of my holes were actually just about dead on. Ephraim assured me that even if it was off a little, it’d be OK.
After the first few holes were drilled, filling the remaining holes was pretty easy.
Around this time, Mark showed up. Mark is a regular helper at Ephraim’s build assist who just enjoys working on airplanes and generously volunteers his time. Mark was trained by the military in sheet metal work and now works at Boeing in a higher level role.
Mark and Ephraim started match drilling the stringers on the opposite side of the TC. Eventually, I finished my side and joined them on theirs.
With 2 drills, we match drilled a LOT of holes very quickly. Times like this are when I appreciate that this could be tremendously time consuming if I was doing this on my own. Coming from the certified world, I’m not really used to a lot of community involved in airplane work. Community is the backbone of the experimental world. It is common to find people who just love being around airplanes and want to do things with airplanes, even if it’s totally selfless otherwise. I’ve tried to do my best to contribute. A few weeks ago, I helped Keith reassemble his RV12 post paint which was probably my first act of experimental community participation.
Back to the Hstab
With the tailcone stringer match drilling complete, the three of us all turned our attention to the Hstab. It was time to disassemble it and prep the parts for dimpling, priming, and then reassembly/riveting. We made quick work of reducing the previously cleco and cradled Hstab back into constituent parts.
Dimpling was another new construction process to me. I deburred the flange holes on a handful of ribs, and then Mark demonstrated dimpling them.
We flipped roles and I dimpled while Mark deburred. Again, another operation that’d be really painful solo. It sure was nice to eventually be able to say “ok… my hand is sore now, do you want to dimple some?”.
Bonus
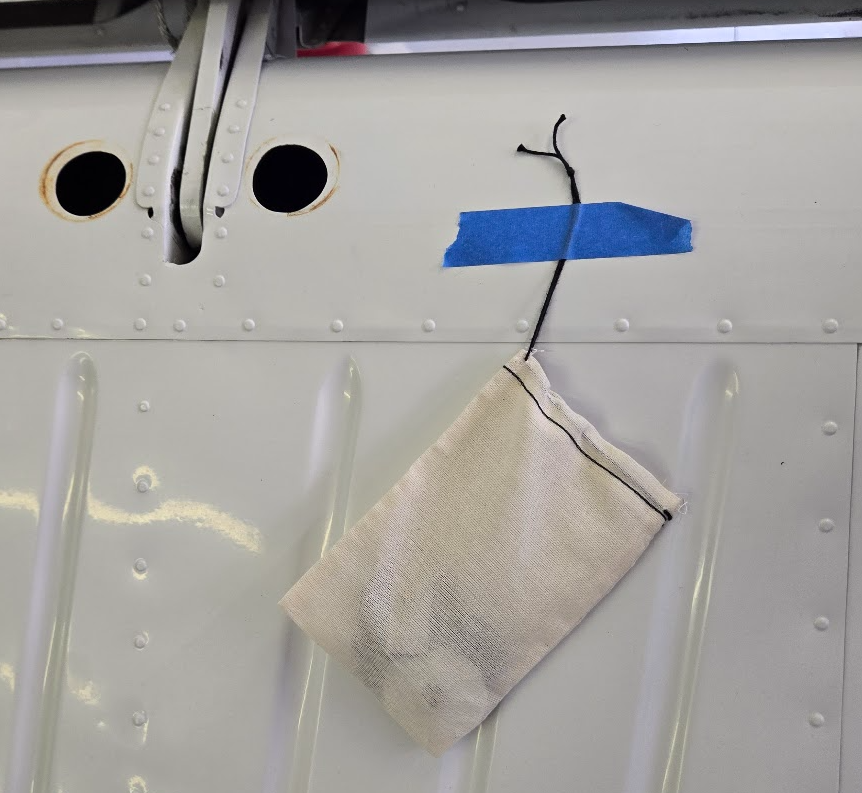
Unrelated to 21X, I was out at KPLU getting 0SH’s oil change done. At the MX hangar, I noticed a disassembled Baron with tobacco bags hung from it containing the various hardware which has been removed. I’ve been flying for over 13 years and never seen this done before. The Baron’s ownerpilot was there doing owner assist MX, and I mentioned to him that I really liked this idea. He told me the secret was that the cheapest tobacco bags can be found on Etsy, go figure.