I originally wrote this post weeks ago, but didn’t finish it. Ephraim and I have both been hard at work on the project and the blog has fallen by the wayside. At the time of publishing this post, we’re done with the empenage kit, save for a few quick steps. I’ll be writing new posts to cover that progress, but for now the post covers progress as of a few weeks ago.
Fuselage
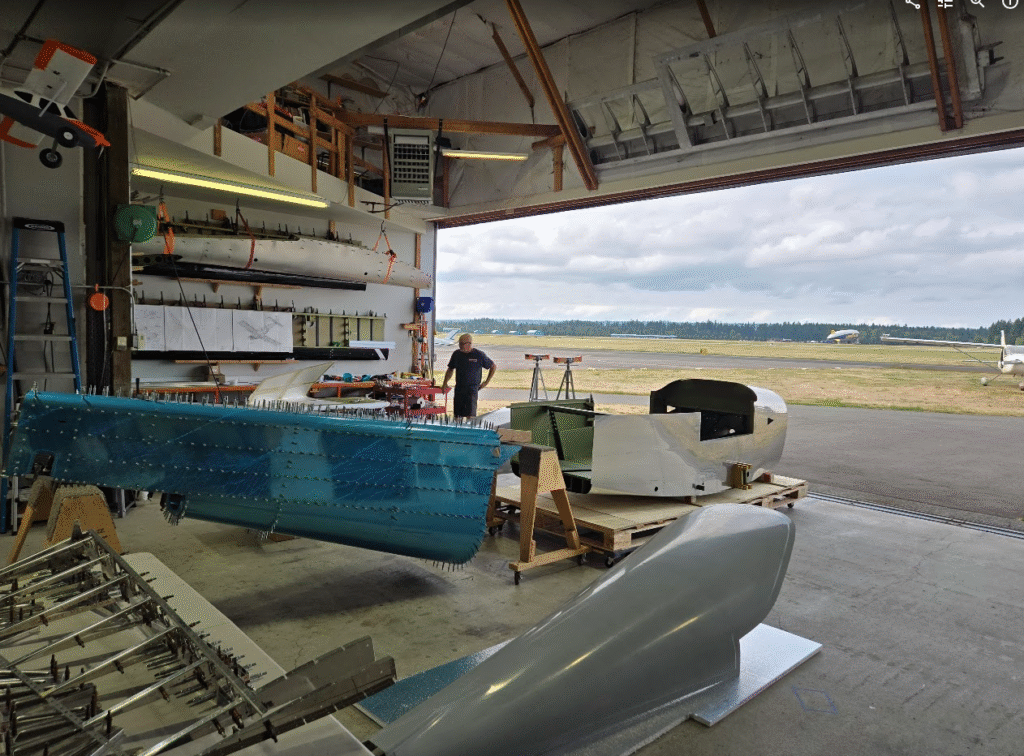
The fuselage kit arrived a week or so ago, but I was too busy to come check it out until earlier this week. It looks nice! It’s nice to finally have a tangible visual aid for the full assembly. Obviously, the assembly manual should convey the full story, but it’s a little clumsy to search through them to find small details. Much easier to just look at the real thing.
Elevators
I started this kit as a novice to homebuilding/sheet metal work. Initially, Ephraim basically managed the assembly steps and broke things down into small tasks like deburring, cutting, countersinking, etc etc. This let me get comfortable with the actual manufacturing processes without worrying about the kit building steps themselves. I feel like I’m now comfortable with the common processes, and have naturally moved onto to following the assembly manual on my own while Ephraim works on unrelated tasks in parallel (for now, that’s final drilling the tailcone).
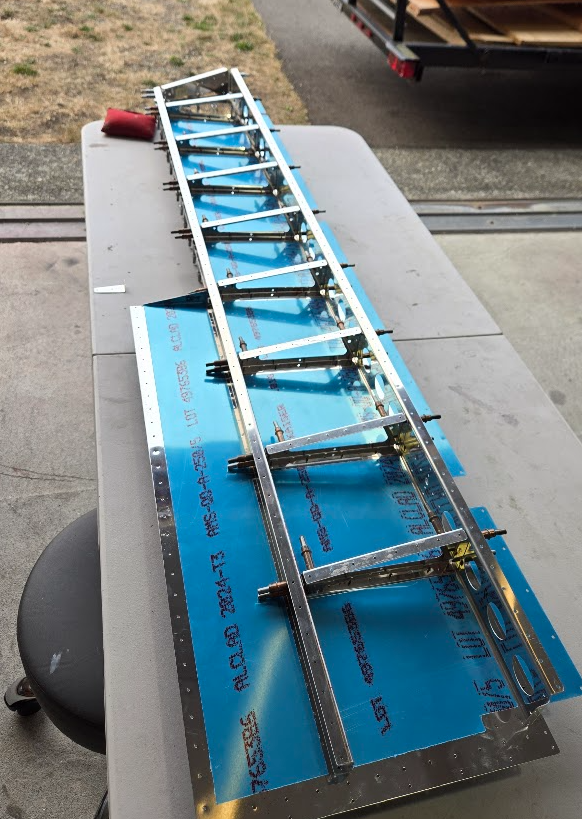
Feeling comfortable enough to follow the plans coincided with the start of the elevators. I asked Ephraim if starting my own section by owning the elevators seemed like a decent idea, and he enthusiastically agreed. I started building up both elevators in parallel, but we were already short on #40 clecos that day, and the tailcone using a ton of them wasn’t helping. I realized I’d only have enough clecos on hand to do one elevator at a time, and for whatever reason, I picked the right elevator to continue building up. This was a poor choice. The plans show the left elevator, and then mention to mirror it for the right. This meant that for the elevator I was building up, I had to mentally mirror all the images in the plans. This was a major lesson learned: If you are building up something mirrored, start with the side the plans show.
Otherwise, the elevators start innocuous enough. Same routine of cleco’ing, final drilling, countersinking, trimming, etc as I’ve done elsewhere.
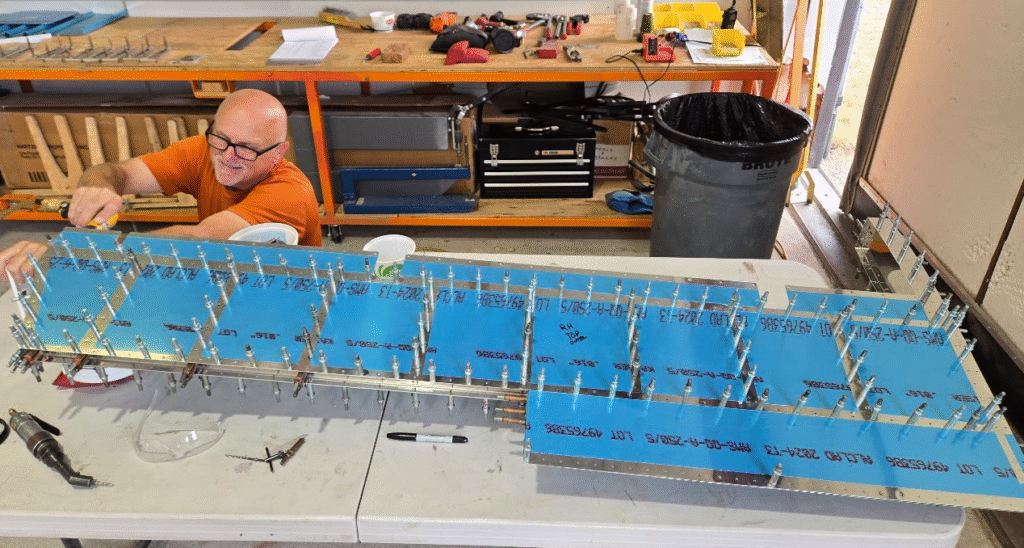
I had a little bit of difficulty with the control horn. The ribs weren’t being pulled in quite enough so the holes didn’t line up perfectly. Ephraim helped manipulate the structure to get it to agree with the holes in the horn.
I guess I didn’t take pictures of it, but so far my most hated section of the kit are the trim cable anchors in the elevators. The welded nut just feels janky.