Monday
My slot at Experimental Aircraft Services opened on Monday 8/11/2025. I had been waiting for this day for over 8 months. A few days before, I had begun pulling parts from “stock” at my hangar at S50 to reposition to the house so that on the first build day, I could drive to AWO with the correct set of parts to get us through at least the first few pages of the build manual.
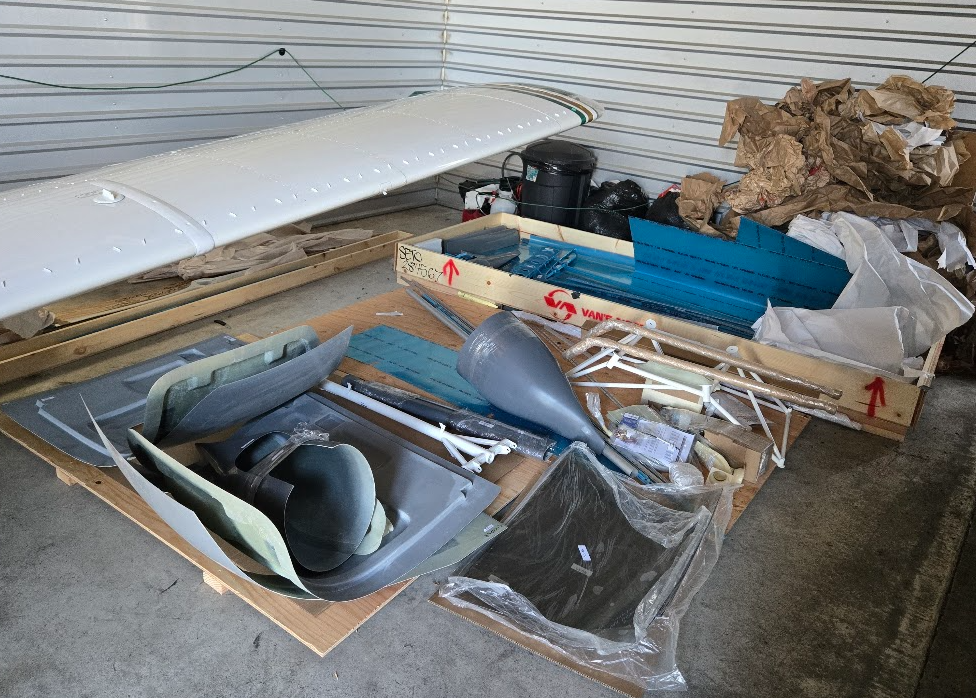
I arrived at EAS while Ephraim was finishing up with the build assist prior to mine. I unloaded the car and sorted the parts PN facing up, with all of the Vstab group off to one side. Pretty much no sooner had I done that than Ephraim came over to start the build.
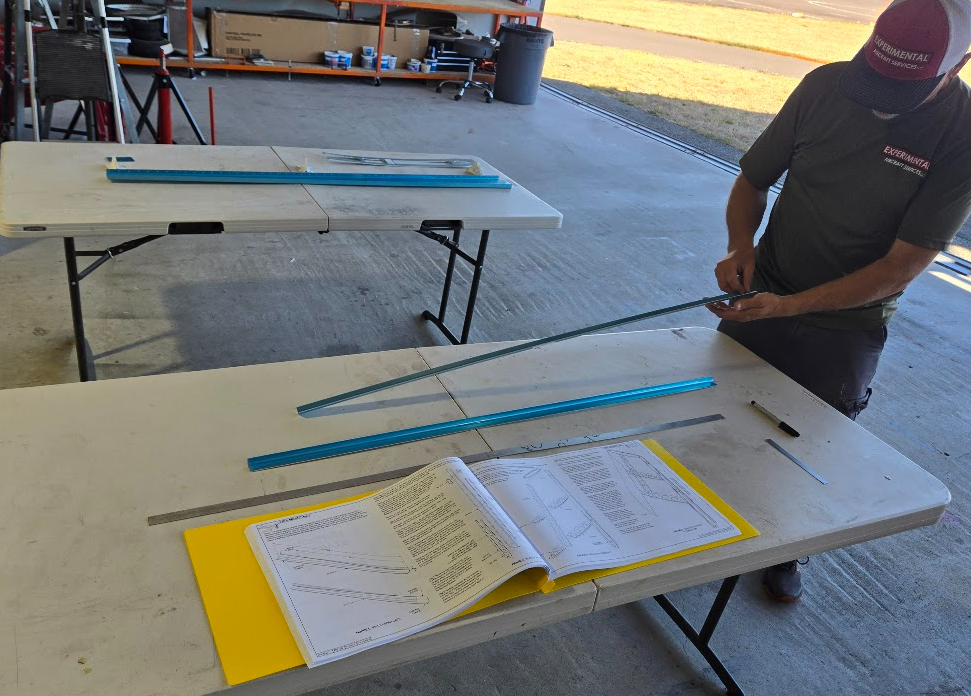
The RV10 build famously starts with cutting a triangle wedge out of the two Vstab rear spar endcaps. Ephraim demonstrated how to cleco the two mirror image parts together to bend them straight and mark them. We then unclamped them, then Ephraim demonstrated cutting one endcap. With that done, we swapped, and I cut mine while Ephraim took a video of my first cut.
The rest of the day, we followed the assembly instructions in order. We ended the day with a rear spar with doubler and endcaps cleco’d in place.
Tuesday
I arrived with more parts to unload. Ephraim broke the news that he noticed we had made a small error during the previous day. We had mistakenly drilled a set of holes with a #30 bit instead of the prescribed #40. Oops. Not a big deal though. These sheet metal parts are cheap and Vans keeps them in stock (I wondered if they keep an especially large stock of the Vstab parts, since they would be the very first parts used in the kit and presumably, most likely to be messed up). Given that these parts were my first experience with sheet metal work, they were slightly rough, and I didn’t really mind the idea of not using them, even though the mistakes were only cosmetic.
While I worked on ordering a new rear spar and endcap, Ephraim noticed we were missing the rudder striker plates and the associated part. Hmmm, I am VERY sure I did not lose them from the bag during inventory. That said, I decided early on that there wasn’t enough point to inventorying anything that wasn’t easy to inventory (ie things lacking visible PNs). After all, the possibility of missing parts should be tiny, and any parts so small that they can’t be printed with a PN should be cheap. I figured my time was probably more valuable than to check every non-visible-PN’d part. I’m guessing Vans really did miss these parts though. We’ll call the $20 total replacement cost a “donation”.
With replacement parts ordered, we paused the Vstab section and moved onto the rudder.
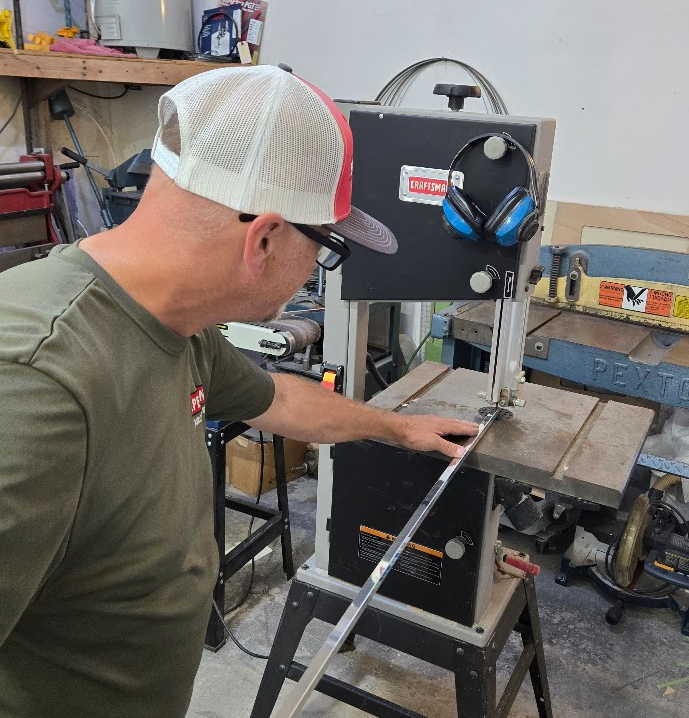
In the months waiting for the build to start, I had dreaded physically modifying the kit parts, especially cutting them up. The rudder would be the first part of the kit to really break me of this fear. The rudder consists of ribs which are each constructed of two sheet metal parts cut from aluminum angle. Ephraim marked the parts, and I cut them out with snips, sanded the snipped edge to the measurement line, and then deburred them.
I left for the day having completed cutting/sanding/deburring my share of the rudder parts. About an hour later. Ephraim texted me a photo of the entire rudder skeleton Cleco’d together. Nice!
Wednesday
By the time Wednesday rolled around, I was sufficiently behind on job work (as opposed to 21X work?) that I needed to do that instead of building. I did still manage to get some tasks completed for 21X though, mostly in the form of ordering things.
I had been staging kit parts at my hangar at S50, and had managed to bring over a good chunk of them in my Subaru BRZ. Though we had reached a roadblock in that we would soon need the Hstab spars, and that wasn’t going to fit in my car. Ephraim VERY graciously offered to drive from AWO to S50 and back with his VW bus to pick up the remainder of a kit. This was seriously above and beyond and highly appreciated, because otherwise, I’m not actually sure how I would have done this without renting a Uhaul or something. So, Wednesday morning Ephraim showed up and we loaded up the remainder of the kit, minus landing gear and engine mount (the former is easy for me to transport after the VW bus was full, and the latter needs to go to Barrett for rework to fit their CAI sump).
A few hours later, Ephraim called me with more potentially bad news. He couldn’t find a rudder skin that was marked backordered on my inventory sheet. Uhhh… I thought that was delivered months ago?? Nope, Vans screwed up and we soon realized they actually sent us an RV14 Hstab skin instead of an RV10 Rudder skin. I started the support case with them to get this resolved.
Thursday
Thursday was another at home day. I spent a lot of time buying stuff.
The first thing to buy would be the firewall forward kit components. I had been putting this off, mostly because Vans doesn’t actually have a spreadsheet detailing what’s in the kit, and with my CAI setup, a lot would be deleted from the kit. Sure they have the raw listing on their website, but that is horrible to try to parse through. For the sake of future builders, I made a spreadsheet of firewall forward components here.
I also worked out the fuel system arrangement and BOM. Because my installation features a mechanical fuel servo (not one of the fancy electronic fuel injection systems), my fuel system is pretty straight forward. Tom at https://www.aircraftspecialty.com/ was a major help and suggested I buy his RV10 cabin fuel system option #3, PMag kit, and FT60 relocation kit. Ephraim has the tooling to crimp hoses, so we’ll just make our own oil cooler hoses.
While I had initially wanted to use the Newton fuel selector due to its low price, better availability, and for aesthetic reasons, the vibe I got from Tom was that this may not be drop in with his fuel hose system. I did notice that the Andair FS20X7T was actually in stock on Aircraft Spruce, so I ended up just buying that. I had previously heard that the Andrair valve had a lead time of up to 9 months, but I guess that wasn’t a factor at this time; it was just in stock.
Part purchased:
- Firewall forward kit (minus hoses, scat tubes, engine accessories, contactors)
- 10x 3CHEM ZINC CHROMATE GREEN 16 OZ AEROSOL
- EI FT 60 FUEL FLOW TRANSDUCER FOR < 350HP / FUEL PUMP
- LORD ENG MOUNT # J-3804-28
- COMANT TRANSPONDER BLADE ANTENNA CI-E05
While I was spending money, Ephraim was continuing to work on the kit.
Friday
I arrived in the morning to see the Hstab rear spar primed and hanging to dry already! With the green primer on, it looked like a real airplane part.
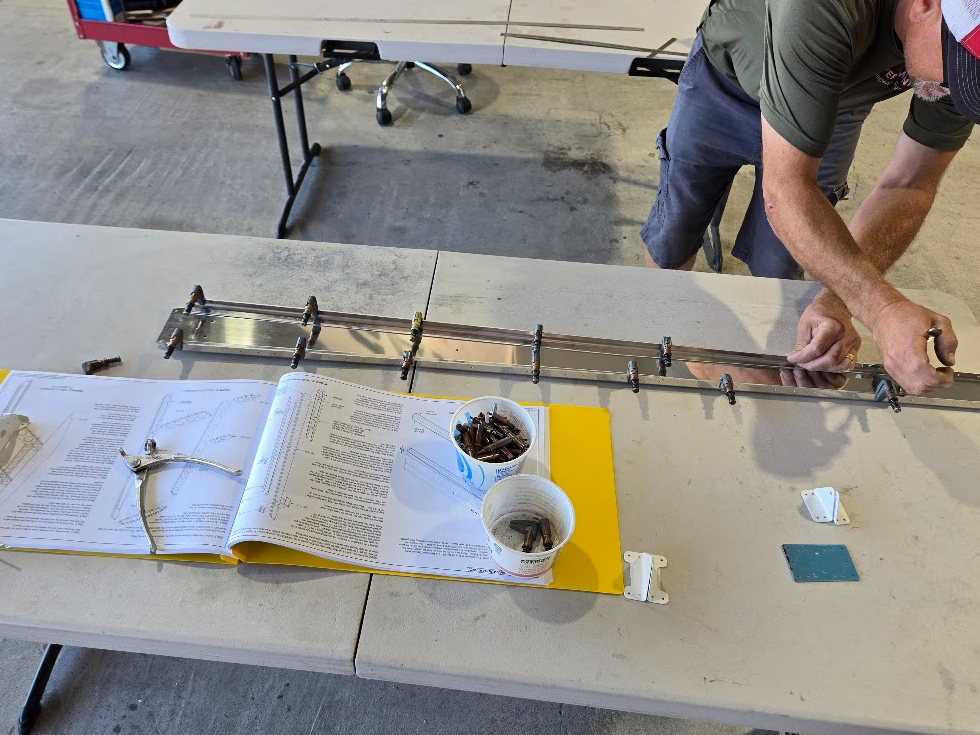
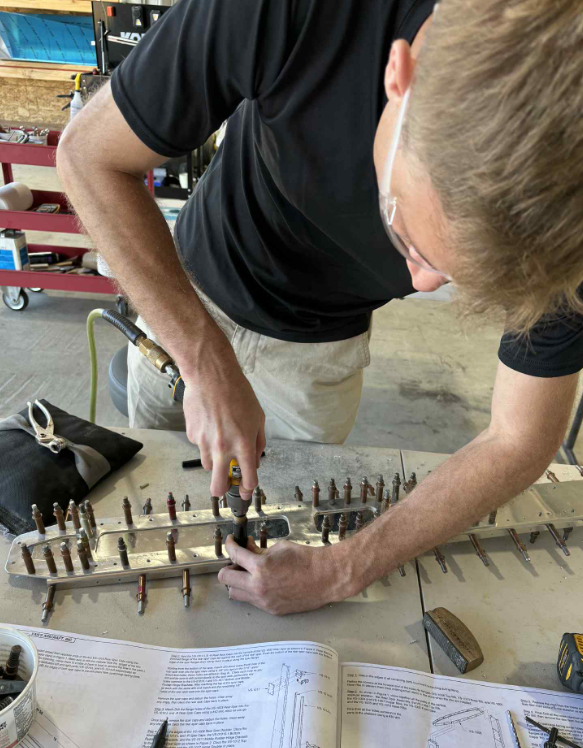
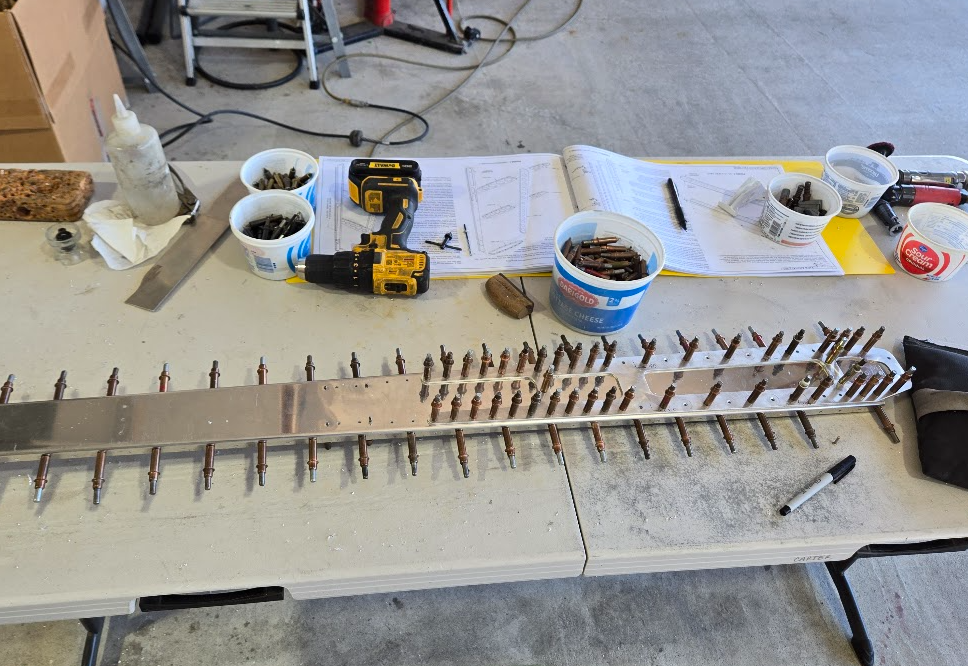
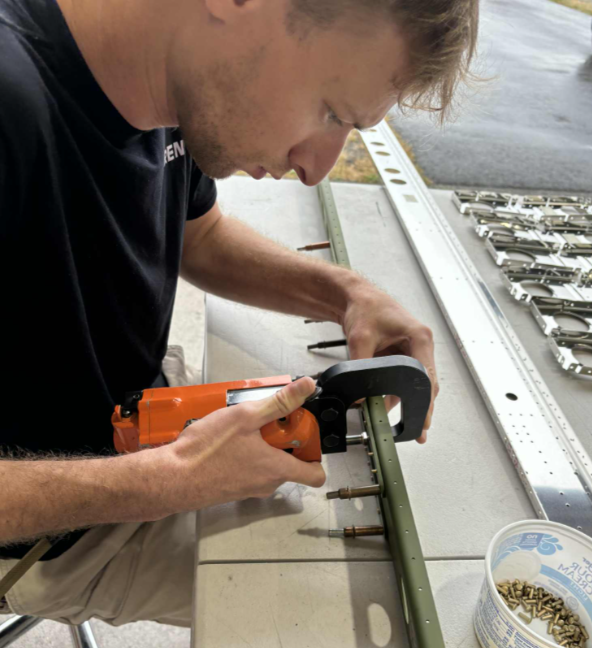
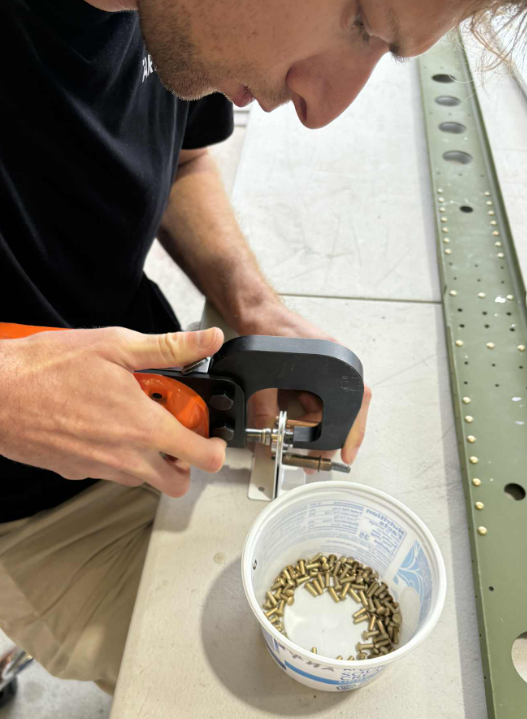
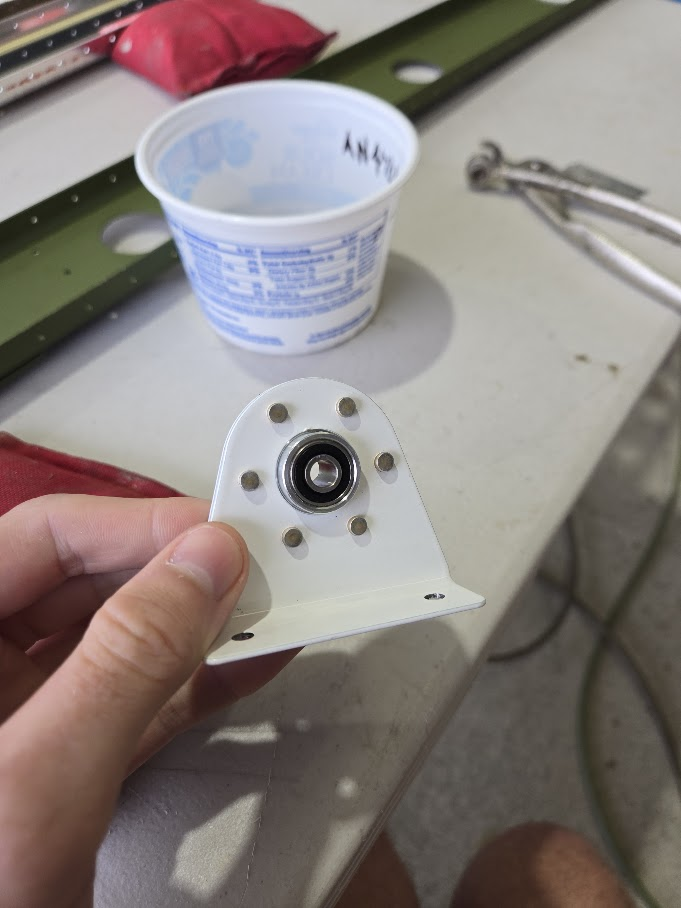
Ephraim mentioned we were actually ready to rivet too, attaching the rear spar doubler to the rear spar and assembling the elevator bearing.

On our first build day, Ephraim spent a lot of time coaching me on the basics of sheet metal work: Cutting, sanding, and deburring. The same techniques would apply to the Hstab parts, so with the riveting/Hstab assembly done, I got to work independently on that.
I learn best when I am shown how to do something to a competent level, and then allowed to go off and do it by myself. Ephraim and I work well together, but also our process has just naturally converged on something that works really well for me. Spending some time alone working on the parts gave me time to finesse my new skills.
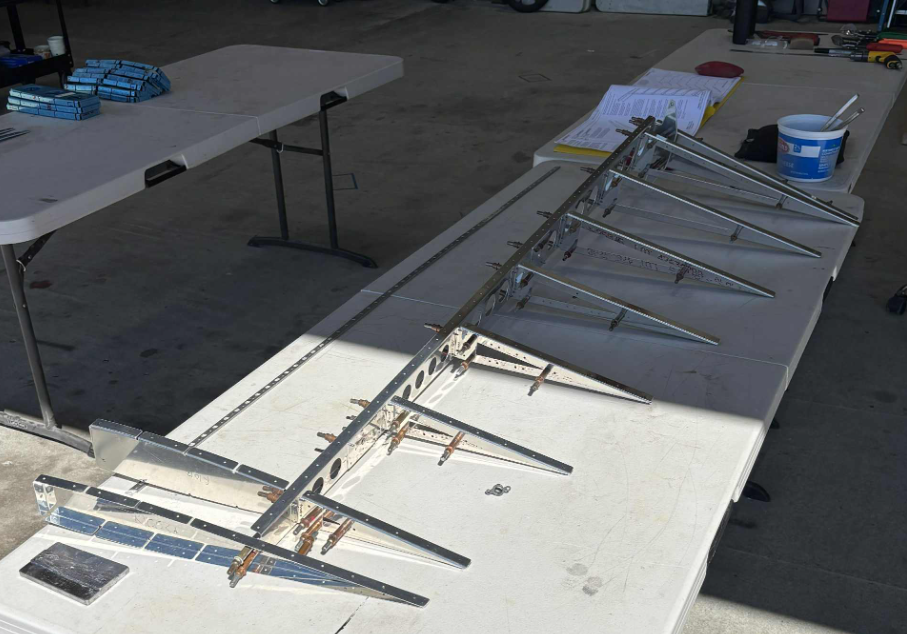
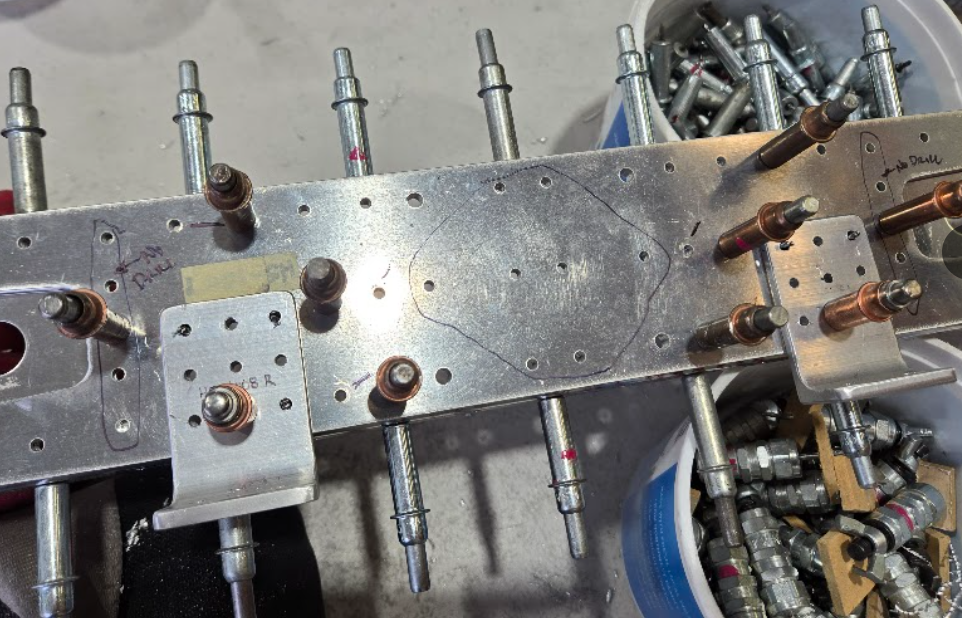
Ephraim was off doing some other kit components, but it wasn’t until I finished up with my Hstab parts did I realize he had just fabricated the Hstab attach brackets! He finished one and then only partially the other. I’ve learned that when Ephraim makes something look like it was effortless to produce, I should be fearful for the effort that awaits me to duplicate what he just did. Finishing the other bracket was a bit more of a challenge, and I will admit I had to pull a lifeline for Ephraim’s help. In the end, we were left with two nice looking matching mirror image brackets.
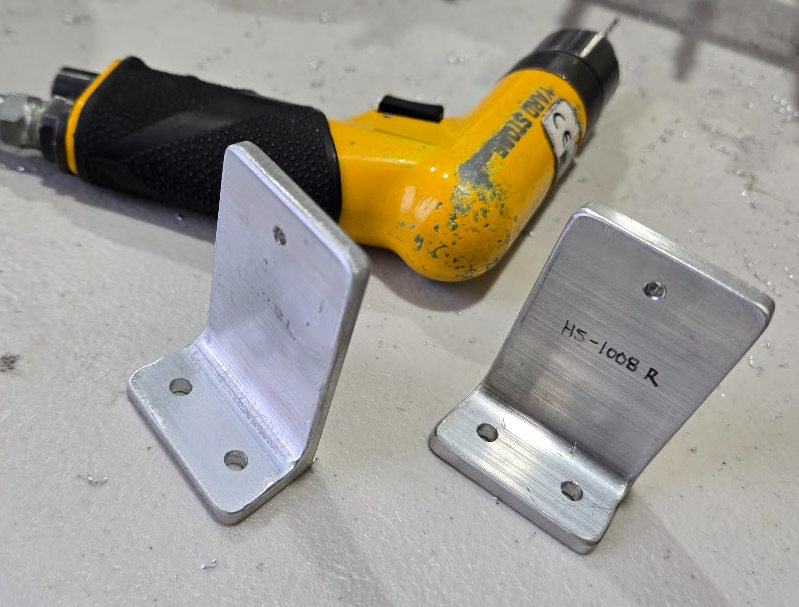
The brackets were not left alone on the bench for long. Next, we match drilled them to the Hstab rear spar.
Some more misc work followed (countersinking, part labeling/blue tape removal/etc), and we called it a day.